Medium heat on a stove might be around 4 or 5 out of a maximum of 9 or 10 on a numbered dial between 350 and 380 degrees Fahrenheit.
Cooking is an essential skill that everyone needs to learn at some point in their lives. However, with many different heat settings on stovetops, knowing what temperature to use for specific dishes can take time and effort. Medium heat is common on most stovetops, but What is medium heat on a stove??
This blog post will explore what medium heat is on a stove, how it compares to other heat settings, and when it’s best to use it. Understanding the ideal temprature is crucial to achieving perfectly cooked meals every time.
What is Medium Heat on a Stove?
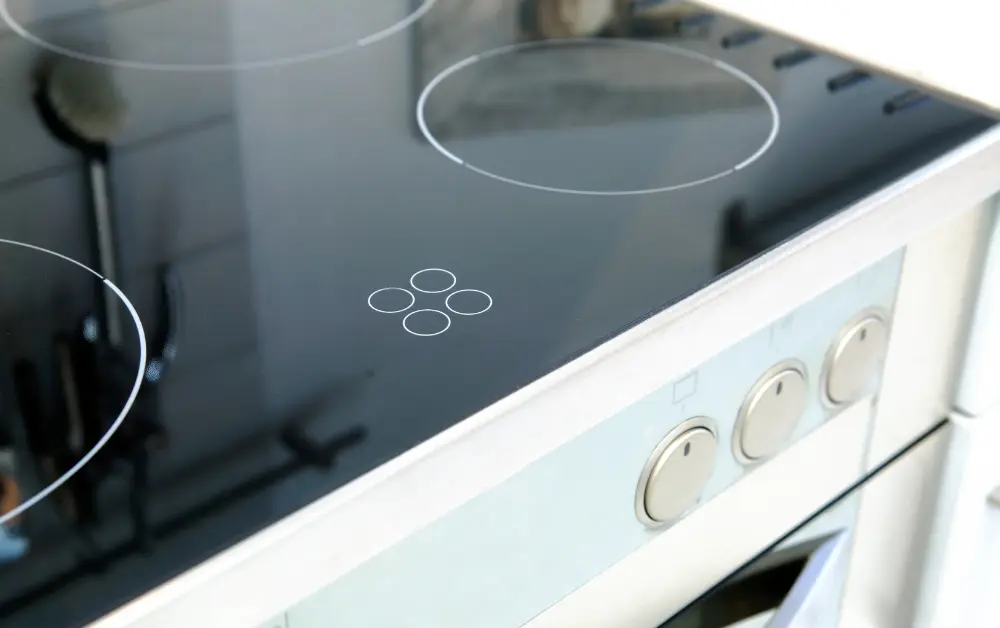
Medium heat on a stove refers to a moderate temperature setting, typically around the middle of your stove’s temperature dial. On a numbered dial, this might be around 4 or 5 out of a maximum of 9 or 10 between 350 and 380 degrees Fahrenheit.
This heat is commonly used for tasks such as simmering sauces, sautéing vegetables, or gently cooking delicate proteins like eggs and fish.
It provides a balanced temperature for thorough cooking without burning or overcooking the food. It’s important to note that stoves can vary, so finding the exact ideal heat setting for your specific stove may require some trial and error.


What Temperature Is Medium High Heat On Electric Stove?
Medium-high heat on an electric stove is a temperature setting higher than medium heat but lower than the maximum setting. While it is difficult to provide an exact temperature, as stoves can vary, medium-high heat is generally between 375°F (190°C) and 450°F (232°C).


This temperature setting is often used for tasks like searing meats, stir-frying, or cooking dishes that require slightly higher heat than the medium setting.
Remember that the temperature might not be consistent across all stovetops, so monitoring your cooking and adjusting the heat as needed for your specific stove is a good idea.
The Importance of Medium Heat in Cooking
Using medium heat in your cooking is essential for various reasons:
- Even cooking: Unlike low and high heat It ensures that your food cooks evenly, preventing it from being overcooked on the outside and undercooked on the inside.
- Flavor development: Cooking at medium ideal heat allows the ingredients to gradually release and meld their flavors, creating more complex and balanced dishes.
- Nutrient retention: Lower cooking temperatures help retain more nutrients in your food, which can be lost at high heat.
- Less oil consumption: Cooking at medium desired temperature requires less oil, leading to healthier dishes.
Medium Heat on Different Types of Stoves
While medium heat is a standard term in cooking, achieving it can vary depending on your stove type. Here’s how to find medium heat on different stoves:
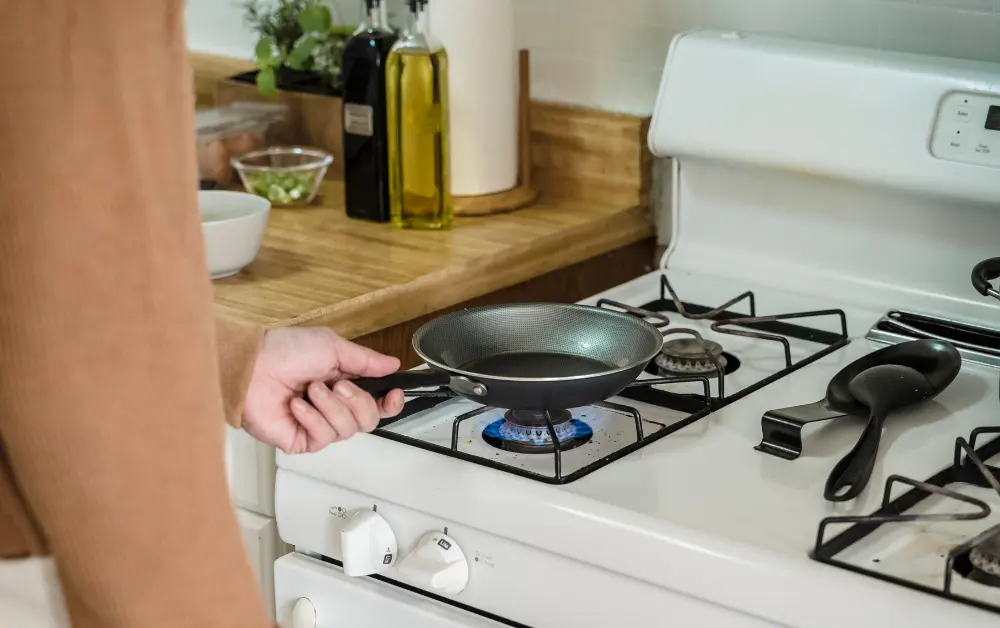
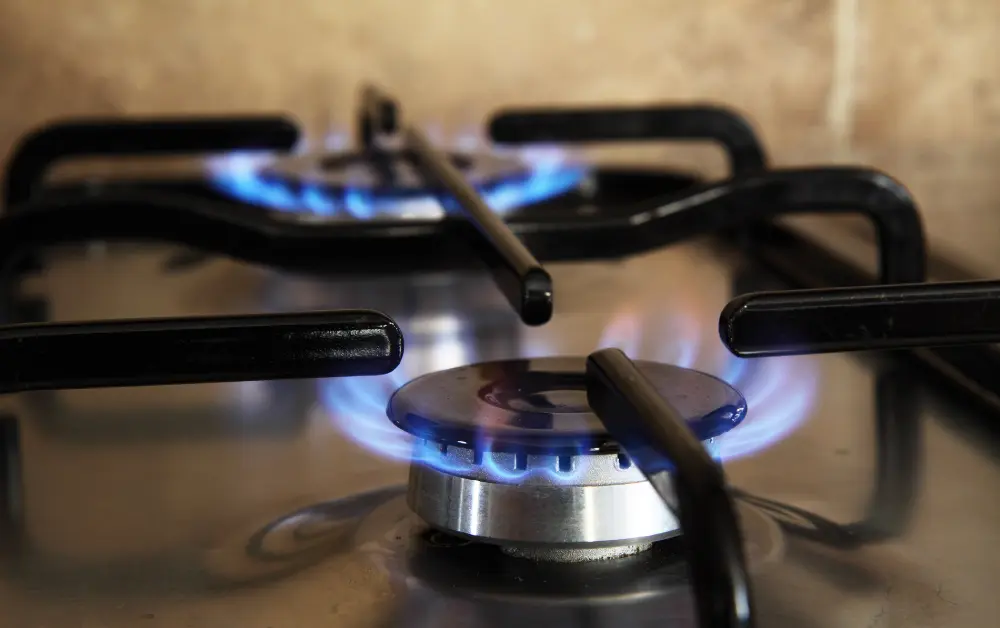
1) Gas stoves
For gas stoves, medium heat temperature range is typically achieved when the flame is approximately half the height of its maximum setting. The flame should be blue with a yellow tip, indicating a proper air-to-gas mixture.
2) Electric stoves
On an electric stove, medium heat usually corresponds to a setting of 4 or 5 on a dial that ranges from 1 to 10.
3) Induction stoves
For induction stoves, medium heat is typically around level 5 or 6 on a stove setting from 1 to 9.
You May Also Like To Read:
Understanding Heat Distribution
Heat distribution varies depending on the type of stove and cookware you’re using. Gas stoves tend to have more uneven heat distribution, while electric and induction stoves provide more consistent heat.


To ensure even cooking, using the right cookware and adjusting the heat as necessary is essential.
Choosing the Right Cookware for Medium Heat Cooking
Selecting the proper cookware can make all the difference in achieving ideal heat and ensuring even cooking. Consider these factors:
- Materials: Option for cookware made of materials that conduct heat well, such as cast iron, stainless steel, or aluminum.
- Thickness: Thicker cookware provides better heat distribution and retention, resulting in more even cooking.
- Size: Choose a pan that matches the size of your burner to maximize heat distribution and prevent hot spots.
Adjusting Heat Levels for Different Ingredients
Different ingredients require different heat levels to cook properly. To master medium heat cooking, you should adjust the medium heat setting according to the type of food you’re preparing:
- Proteins: Lower the heat for delicate proteins like fish or eggs, and increase it for sturdier proteins like chicken or beef.
- Vegetables: Leafy greens and tender vegetables like zucchini or bell peppers require a lower heat, while denser vegetables like potatoes or carrots may need a slightly higher heat to cook through evenly.
- Sauces and liquids: Delicate sauces or liquids that can scorch easily, such as milk or cream, should be cooked at a lower temperature, while thicker sauces can handle slightly higher heat.
Monitoring Your Food While Cooking on Medium Heat
Cooking on medium heat requires careful monitoring and occasional adjustments to ensure the perfect temperature throughout the cooking process.
Keep these tips in mind:
- Don’t leave your food unattended while cooking; measure medium heat the heat might need to be adjusted to prevent burning or undercooking.
- Stirring helps distribute heat evenly and prevents food from sticking to the pan.
- When cooking proteins, use a meat thermometer to check for doneness and adjust the heat accordingly.
Common Mistakes to Avoid When Cooking on Medium Heat
Avoiding these common mistakes will help you master medium-heat cooking:
- Overcrowding can cause uneven cooking and lead to steaming instead of sautéing or browning. Give your ingredients enough space to cook properly.
- As mentioned earlier, using the right cookware is crucial for even heat distribution and proper cooking.
- Be bold and adjust the heat as needed, even if it means deviating from your stove’s suggested medium setting.

Tips for Perfecting Your Medium Heat Cooking Skills
- Familiarize yourself with your stove and cookware through regular cooking. Over time, you’ll develop a better understanding of heat control.
- Begin cooking at a lower heat and gradually increase it if needed. It’s easier to raise the temperature than to lower it once the food has started to cook.
- Achieving the perfect medium heat takes time and attention. Take time with the process, as patience will result in better-cooked dishes.
Experimenting with Medium Heat Recipes
Medium heat is versatile and suitable for various recipes. To hone your skills, try experimenting with dishes that require medium heat, such as:
- Stir-fries: Saute vegetables and proteins for a quick and healthy meal.
- Braises: Slowly cook meats and vegetables in flavorful liquid for tender, delicious results.
- Pan-searing: Achieve a beautiful crust on proteins like fish, chicken, or steak.
FAQs
What number is medium heat on a stove?
Medium heat on a stove is typically around 5 on a scale of 1 to 10.
What is medium heat on a stove in Celsius?
Medium heat on a stove is approximately 150-160°C (302-320°F).
How hot is 3 on a stove?
Level 3 on a stove is around 135°C (275°F).
How hot is 4 on a stove?
Level 4 on a stove is about 148°C (300°F).
How hot is 5 on a stove?
Level 5 on a stove is roughly 162°C (325°F).
How hot is 6 on a stove?
Level 6 on a stove is approximately 176°C (350°F).
How hot is 7 on a stove?
Level 7 on a stove is around 190°C (375°F).
How hot is 8 on a stove?
Level 8 on a stove is about 204°C (400°F).
How hot is 9 on a stove?
Level 9 on a stove is approximately 218°C (425°F).
How hot is 10 on a stove?
Level 10 on a stove is around 232°C (450°F).
Affiliate Disclosure: Fireplaceadviser.com is a participant in the Amazon Services LLC Associates Program. We may earn a commission when you click on certain links on this site and purchase.

Hello!! I am Jamal Khan. I often fix my home electric heaters and gas stove problems and research the common issues in the heating units to improve my knowledge and expertise. The aim of establishing fireplaceadviser.com is to share my expertise and knowledge with my audience.