Is your wood-burning stove, fireplace insert, or barbeque looking a little lackluster? Stove Bright Paint offers a fantastic solution to rejuvenate its appearance while providing a durable, heat-resistant finish.
This comprehensive guide dives deep into the pros and cons of using high-temperature stove paint, walks you through a detailed step-by-step installation process, and answers all your burning questions to help you achieve a stunning and long-lasting result.
Key Takeaways
- Stove Bright Paint is a high-temperature, durable paint designed for stoves, fireplaces, and other heat-exposed surfaces.
- It offers excellent heat resistance, color retention, and protection against rust and corrosion.
- Proper preparation is crucial for a successful and long-lasting paint job.
- Application involves cleaning, light abrasion, even spraying or brushing, and thorough curing.
- While offering numerous benefits, potential drawbacks include the need for careful preparation, proper ventilation during application, and the initial odor during curing.

Why Choose Stove Bright High-Temperature Paint?
Let’s face it, a worn-out stove can be an eyesore. But beyond aesthetics, using a specialized high-temperature coating like Stove Bright offers a range of compelling advantages:
Exceptional Heat Resistance:
This is the primary benefit. Stove Bright is formulated to withstand the extreme temperatures that wood stoves, fireplace inserts, and even some grills can reach without blistering, cracking, or peeling. This ensures your paint job lasts for seasons to come.
Enhanced Appearance:
Available in a variety of colors and finishes (including metallic and satin), Stove Bright allows you to customize the look of your appliance, breathing new life into a tired design or matching your existing décor. Imagine transforming a dated black stove into a sleek, modern anthracite grey!


Protection Against Rust and Corrosion:
The durable finish acts as a protective barrier against moisture and environmental elements, preventing rust and corrosion that can compromise the integrity and lifespan of your stove. This is particularly important for stoves in humid environments.
Improved Durability:
Stove Bright creates a tough, resilient surface that can withstand everyday wear and tear, minor scratches, and bumps, keeping your appliance looking its best for longer.
Ease of Application:
While proper preparation is key (more on that later!), the paint itself is relatively easy to apply using aerosol cans or a spray gun. Brush application is also possible for smaller touch-ups.
Potential Drawbacks: Considering the Cons of Stove Bright
While the benefits are significant, it’s important to be aware of potential downsides:
Surface Preparation is Critical:
Achieving a smooth, long-lasting finish requires meticulous surface preparation. This includes thorough cleaning, degreasing, and often sanding or wire brushing to remove any existing rust or loose paint. Skipping this step can lead to poor adhesion and premature failure.


Ventilation During Application:
Like most spray paints, Stove Bright fumes can be unpleasant and potentially harmful. Proper ventilation is essential during application and the initial curing process. Working outdoors or in a well-ventilated area with respiratory protection is highly recommended.
Initial Odor During Curing:
As the paint cures under heat, it may release a noticeable odor. This is temporary and usually dissipates after the initial few burns. Ensuring good ventilation during the first few uses of your stove can help minimize this.
Cost Compared to Regular Paint:
High-temperature paints like Stove Bright are generally more expensive than standard paints due to their specialized formulation. However, the longevity and durability they offer often justify the investment.
Color Accuracy:
While color swatches are available, the final color on your stove can sometimes vary slightly depending on the application and the original surface color. It’s always a good idea to test a small, inconspicuous area first if you’re concerned about exact color matching.
How to Apply Stove Bright Paint Like a Pro
Ready to transform your stove? Follow these detailed steps for a professional-looking finish:
1. Gather Your Materials:
- Stove Bright Paint:
- Choose your desired color and finish. Calculate the amount needed based on the size of your stove.
- Cleaning Supplies:
- Wire brush, sandpaper (various grits, typically medium to fine), degreasing cleaner (specifically for metal), tack cloth.
- Safety Gear:
- Respirator or dust mask, safety glasses, gloves.
- Application Tools:
- Aerosol cans (shake well before use), spray gun (if using bulk paint), heat-resistant paint brushes (for touch-ups).
- Drop Cloths or Newspaper:
- To protect the surrounding area from overspray.
- Painter’s Tape:
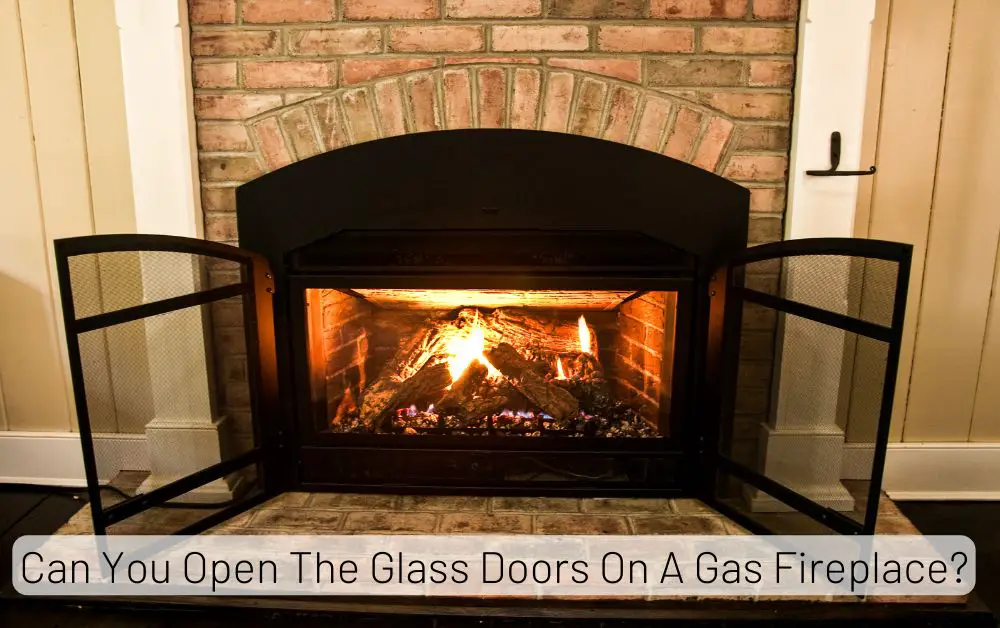
- To mask off any areas you don’t want to paint (e.g., glass doors, handles).
2. Prepare the Surface:
- Cool Down Completely:
- Ensure your stove is completely cool before starting. Never attempt to paint a hot surface.
- Thorough Cleaning:
- Use a wire brush to remove any loose rust, scale, or old paint. Then, thoroughly clean the entire surface with a degreasing cleaner to remove any grease, soot, or dirt. Rinse and allow it to dry completely.
- Sanding (Optional but Recommended):
- Lightly sand the surface with medium-grit sandpaper to create a better “key” for the new paint to adhere to. For very smooth surfaces, this step is crucial. Follow up with fine-grit sandpaper for a smoother finish.
- Remove Dust:
- Wipe down the entire surface with a tack cloth to remove any sanding dust. This ensures a flawless paint job.
- Masking:
- Use painter’s tape to carefully mask off any areas you don’t want to paint, such as glass doors, trim, or handles.
3. Applying the Stove Bright Paint
- Shake Well (for Aerosol Cans):
- Shake the can vigorously for at least two minutes before use to ensure the paint is properly mixed.
- Apply in Thin, Even Coats:
- Hold the spray can or spray gun approximately 10-12 inches from the surface. Apply thin, even coats using smooth, overlapping strokes. Avoid spraying too much paint in one area, which can lead to drips and runs.
- Multiple Coats:
- Apply 2-3 thin coats, allowing each coat to dry to the touch (usually 15-30 minutes, check the product instructions) before applying the next. This builds up a durable and even finish.
- Brush Application (for Touch-ups):
- If using a brush for smaller areas or touch-ups, use smooth, even strokes. Be mindful of brush marks.
Recommended Drying Times Between Coats
| Paint Type | Drying Time (Touch Dry) | Recoat Time |
|---|---|---|
| Aerosol Spray | 15-30 minutes | As per instructions |
| Brush/Bulk Paint | Varies (check can) | As per instructions |
4. Curing the Paint
- Allow to Air Dry:
- Let the painted stove air dry completely for at least 24 hours in a well-ventilated area. The longer you let it dry, the harder the paint film will become before heat is applied.
- Gentle Heat Curing:
- Once dry to the touch, a gradual heat curing process is recommended for optimal hardness and durability. Start with a low fire for the first hour, gradually increasing the temperature over the next 2-3 hours. Avoid high temperatures during the initial curing phase.
- Ventilation During Curing:
- Ensure good ventilation during the curing process as some fumes may still be released.
5. Clean Up:
- Dispose of used paint cans and cleaning materials properly according to local regulations.
- Remove painter’s tape carefully once the paint is dry to the touch.
Choosing the Right Stove Bright Color and Finish
Stove Bright offers a diverse palette of colors and finishes to suit various styles and preferences. Consider these factors when making your choice:
Do you want the stove to blend seamlessly with your room’s color scheme? Consider neutral tones like black, grey, or brown.
Option for bolder colors or metallic finishes to make your stove a focal point.
Choose between matte, satin, or metallic finishes depending on the desired look. Metallic finishes can add a touch of elegance, while matte finishes offer a more understated appearance.
Consider the Appliance Type: Certain colors and finishes might be more traditional for wood stoves versus modern for fireplace inserts.
Popular Stove Bright Colors and Their Corresponding Styles
| Color | Finish | Style Association |
|---|---|---|
| Black | Matte | Traditional, Rustic |
| Charcoal Grey | Satin | Modern, Contemporary |
| Metallic Black | Metallic | Elegant, Industrial |
| Brown | Matte | Traditional, Cozy |
| Forest Green | Satin | Classic, Cottage |
Maintaining Your Newly Painted Stove
Once your stove is beautifully painted, proper maintenance will help keep it looking its best for years to come:
Avoid using harsh chemicals or abrasive cleaners. Wipe down the surface with a soft, damp cloth when the stove is cool.
Be careful when loading wood or using fireplace tools to avoid scratching the painted surface.
For minor scratches or chips, you can use a small amount of Stove Bright paint for touch-ups. Follow the application instructions carefully.
Periodically inspect the paint for any signs of damage or wear, addressing them promptly to prevent further issues.
You May Also Like To Read:
FAQs
Can I use regular spray paint on my wood stove?
No! Regular paint is not designed to withstand high temperatures and will likely blister, peel, and emit harmful fumes. Always use a high-temperature paint specifically formulated for stoves, like Stove Bright.
How long does Stove Bright paint last?
With proper application and care, Stove Bright paint can last for many years, providing a durable and attractive finish.
Do I need to prime the surface before using Stove Bright?
Generally, priming is not necessary if the surface is properly cleaned and prepared. However, for heavily rusted surfaces, a high-temperature primer can improve adhesion and longevity.
What is the best way to apply Stove Bright paint?
For larger surfaces, aerosol spray cans provide a convenient and even application. For smaller areas or touch-ups, a heat-resistant brush can be used.
Is Stove Bright paint environmentally friendly?
Stove Bright formulations comply with environmental regulations. However, it’s essential to use proper ventilation during application and dispose of cans responsibly.
Where can I buy Stove Bright paint?
Stove Bright paint is available at many fireplace and stove retailers, hardware stores, and online.
How much paint do I need?
Coverage will vary depending on the size and number of coats. Refer to the product specifications on the can for estimated coverage. It’s always better to have a little extra than to run out mid-project.
Can I paint the inside of my firebox with Stove Brig
Stove Bright is generally designed for the exterior surfaces of stoves and fireplaces. Check the product specifications for recommendations regarding interior use, as some specialized high-temperature coatings may be required for direct flame contact areas.
Affiliate Disclosure: Fireplaceadviser.com is a participant in the Amazon Services LLC Associates Program. We may earn a commission when you click on certain links on this site and purchase.

Hello!! I am Jamal Khan. I often fix my home electric heaters and gas stove problems and research the common issues in the heating units to improve my knowledge and expertise. The aim of establishing fireplaceadviser.com is to share my expertise and knowledge with my audience.