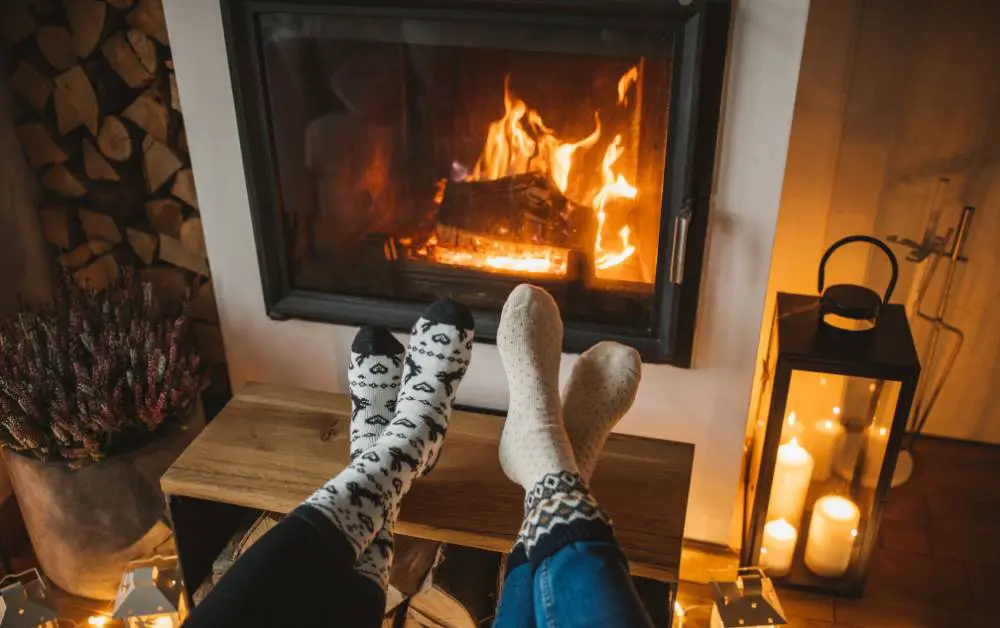
Insulating your fireplace is one of the most effective ways to improve your home’s energy efficiency, reduce heating costs, and create a cozier living space. Whether you have a wood-burning fireplace, a gas insert, or even an electric model, proper insulation ensures that heat stays inside your home instead of escaping through the chimney.
In this in-depth DIY guide, we’ll cover everything you need to know to insulate fireplace like a pro. From the materials you’ll need to step-by-step instructions, safety tips, and cost breakdowns, this guide has it all.
By the end, you’ll be equipped with the knowledge to tackle this project confidently and enjoy a warmer, more energy-efficient home.
Key Takeaways
- Insulating your fireplace minimizes heat loss, leading to lower energy bills.
- Proper insulation prevents cold air from entering your home through the fireplace.
- A well-insulated fireplace contributes to a consistent indoor temperature.
Why Insulate Your Fireplace?
A fireplace is often the heart of a home, providing warmth and ambiance during colder months. However, without proper insulation, it can also be a significant source of heat loss.
Fireplaces, especially older ones, can let warm air escape through the chimney while allowing cold air to seep in. Insulation helps retain heat, making your home more energy efficient.
By preventing heat loss, you’ll reduce the workload on your heating system, leading to lower energy bills.
Fireplace insulation eliminates drafts and cold spots near the fireplace, making your living space more comfortable.


Proper insulation reduces the risk of chimney fires and improves the overall performance of your fireplace.
A well-insulated fireplace reduces energy consumption, which is better for the environment.
Materials Needed to Insulate Fireplace
| Material | Purpose | Approximate Cost |
|---|---|---|
| Insulation Boards | Fire-resistant boards to line the interior of the fireplace. | $50−$100 |
| Fire-Resistant Caulk | Seals gaps and cracks to prevent air leaks. | $10−$20 |
| Glass Fireplace Doors | Improves heat retention and reduces drafts. | $200−$500 |
| Chimney Balloon | Blocks airflow through the chimney when the fireplace isn’t in use. | $50−$70 |
| High-Temperature Insulation | For lining the chimney or flue to improve insulation. | $100−$200 |
| Safety Gear | Gloves, goggles, and a mask to protect yourself during the project. | $20−$50 |
| Measuring Tape | For accurate measurements of the fireplace and chimney. | $10−$15 |
| Utility Knife | For cutting insulation boards to size. | $10−$20 |
| High-Temperature Adhesive | To secure insulation boards in place. | $15−$30 |
Step-by-Step Guide to Insulate Fireplace
1. Assess Your Fireplace
Start by thoroughly inspecting your fireplace and chimney. Look for cracks, gaps, or signs of wear and tear. Determine the type of fireplace you have (wood-burning, gas, or electric), as the insulation process may vary slightly depending on the type.
Pro Tip: If you notice significant damage, such as large cracks or crumbling mortar, consider consulting a professional before proceeding.
2. Clean the Fireplace
Remove any debris, soot, or ash from the fireplace. A clean surface ensures better adhesion for insulation materials. Use a vacuum or brush to clean hard-to-reach areas.
Safety Note: Wear a mask and gloves to avoid inhaling soot or ash particles.
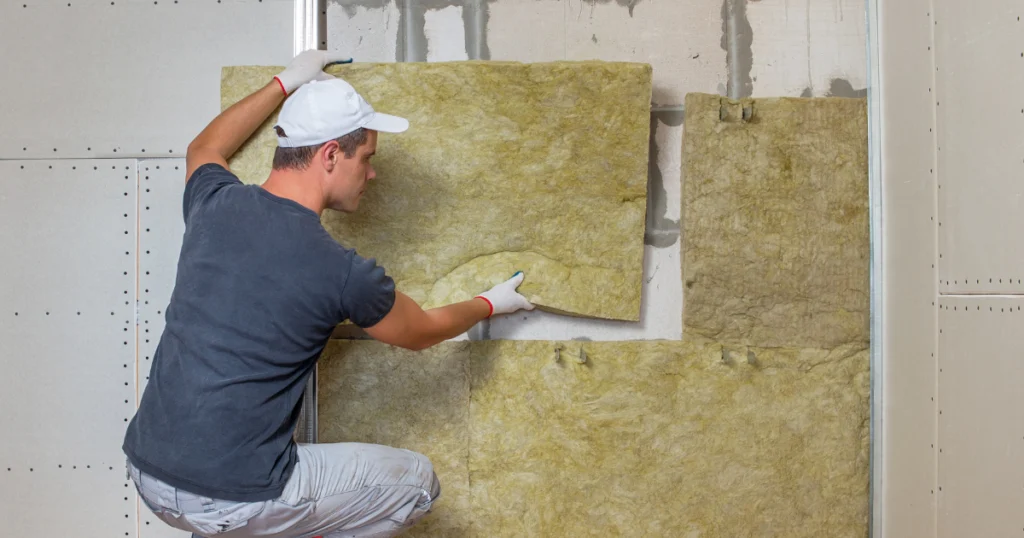
3. Install Insulation Boards
The use of Insulation boards to insulate fireplace are one of the most effective ways to line the interior of your fireplace. Here’s how to install them:
- Measure the interior walls of your fireplace.
- Cut the insulation boards to fit using a utility knife.
- Apply high-temperature adhesive to the back of the boards.
- Press the boards firmly against the fireplace walls, ensuring they’re securely in place.
Pro Tip: Choose insulation boards with a high R-value for maximum heat retention.
4. Seal Gaps with Fire-Resistant Caulk
Gaps and cracks around the fireplace and chimney can let cold air in and warm air out. Use fire-resistant caulk to seal these areas:


- Apply the caulk to any visible gaps or cracks.
- Smooth the caulk with a caulk tool or your finger for a clean finish.
- Allow the caulk to dry completely before using the fireplace.
5. Add Glass Fireplace Doors
Glass fireplace doors are a game-changer for improving insulation. They create a barrier that prevents warm air from escaping and cold air from entering. Here’s how to install them:
- Measure the opening of your fireplace.
- Purchase glass doors that fit your measurements.
- Follow the manufacturer’s instructions to install the doors securely.
Pro Tip: Look for doors with a tight seal to maximize insulation.
6. Use a Chimney Balloon
A chimney balloon is an inflatable device that blocks airflow through the chimney when the fireplace isn’t in use. Here’s how to use it:
- Inflate the chimney balloon according to the instructions.
- Insert it into the flue and ensure it fits snugly.
- Deflate and remove the balloon when you want to use the fireplace.
Safety Note: Always remove the chimney balloon before lighting a fire.
7. Insulate the Chimney
For added efficiency, consider lining your chimney with high-temperature insulation. This step is especially important for older chimneys with poor insulation. Here’s how to do it:
- Measure the length and diameter of your chimney.
- Purchase a chimney liner kit that fits your measurements.
- Follow the manufacturer’s instructions to install the liner.
Safety Tips for Fireplace Insulation
- Always choose materials rated for high temperatures to prevent fire hazards
- Check your local building codes to ensure your insulation meets safety standards.
- Periodically check your insulation for wear and tear, especially before the winter season.
- If you’re unsure about any step or notice significant damage, consult a professional.
Cost Breakdown: DIY vs. Professional Installation
| Expense | DIY Cost | Professional Cost |
|---|---|---|
| Insulation Boards | $50−50−$100 | $100−$200 |
| Fire-Resistant Caulk | $10−10−$20 | $20−$40 |
| Glass Doors | $200−200−$500 | $500−$1,000 |
| Chimney Balloon | $50−50−$70 | $70−$100 |
| High-Temperature Insulation | $100−100−$200 | $200−$400 |
| Labor | $0 | $300−$800 |
FAQs
Can I insulate my fireplace myself?
Yes, insulating your fireplace is a manageable DIY project if you have the right materials and follow safety guidelines. However, for complex tasks like chimney lining, consider hiring a professional.
What’s the best insulation material for a fireplace?
Fire-resistant insulation boards and high-temperature insulation are ideal for fireplaces. Avoid materials that aren’t rated for high heat.
Will insulating my fireplace save me money?
Absolutely! Proper insulation reduces heat loss, which can lower your heating bills by up to 20%.
How often should I check my fireplace insulation?
Inspect your insulation annually, especially before the winter season, to ensure it’s in good condition.
Can I use regular caulk for my fireplace?
No, always use fire-resistant caulk designed for high temperatures. Regular caulk can melt or catch fire.
Affiliate Disclosure: Fireplaceadviser.com is a participant in the Amazon Services LLC Associates Program. We may earn a commission when you click on certain links on this site and purchase.

Hello!! I am Jamal Khan. I often fix my home electric heaters and gas stove problems and research the common issues in the heating units to improve my knowledge and expertise. The aim of establishing fireplaceadviser.com is to share my expertise and knowledge with my audience.