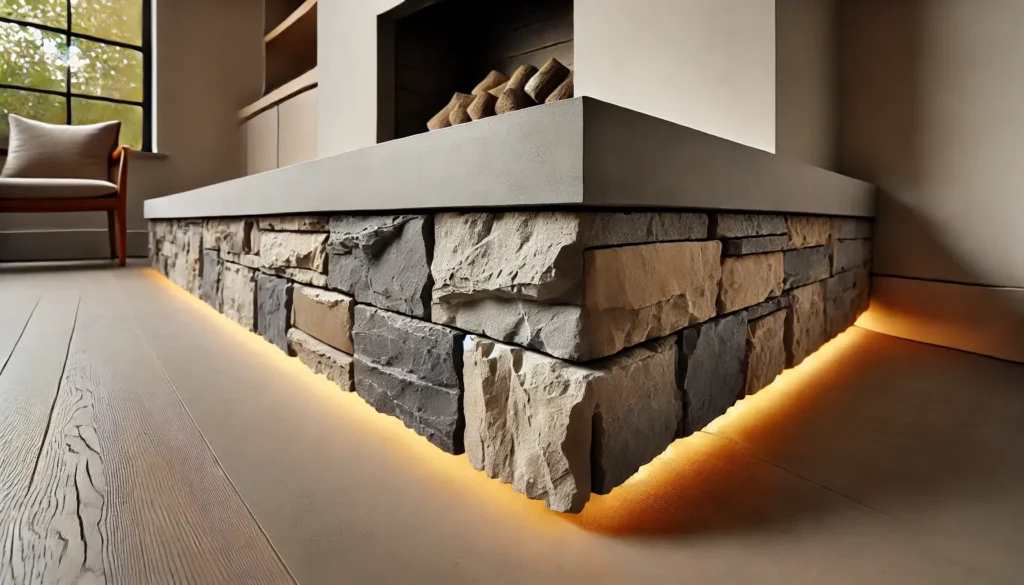
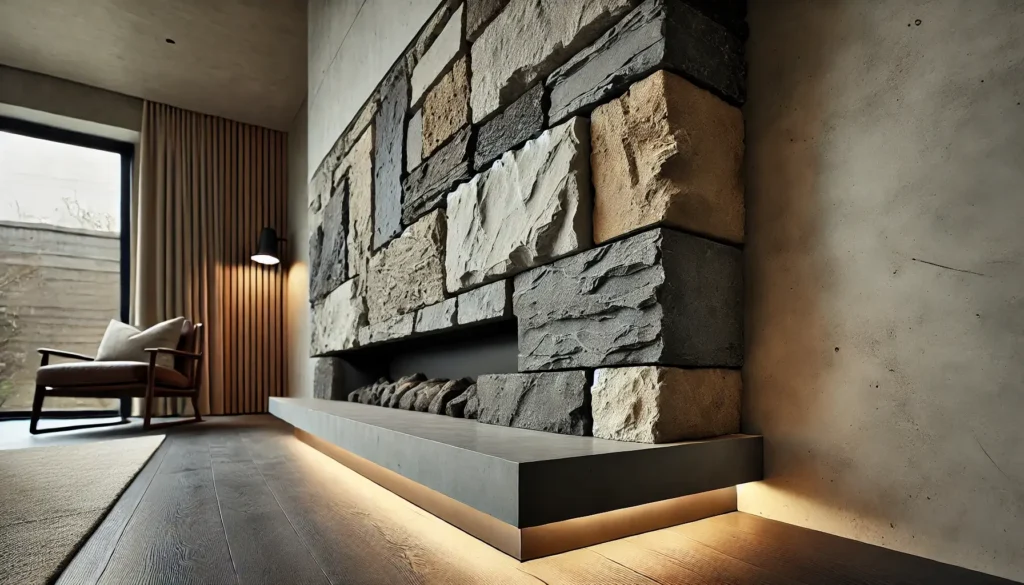
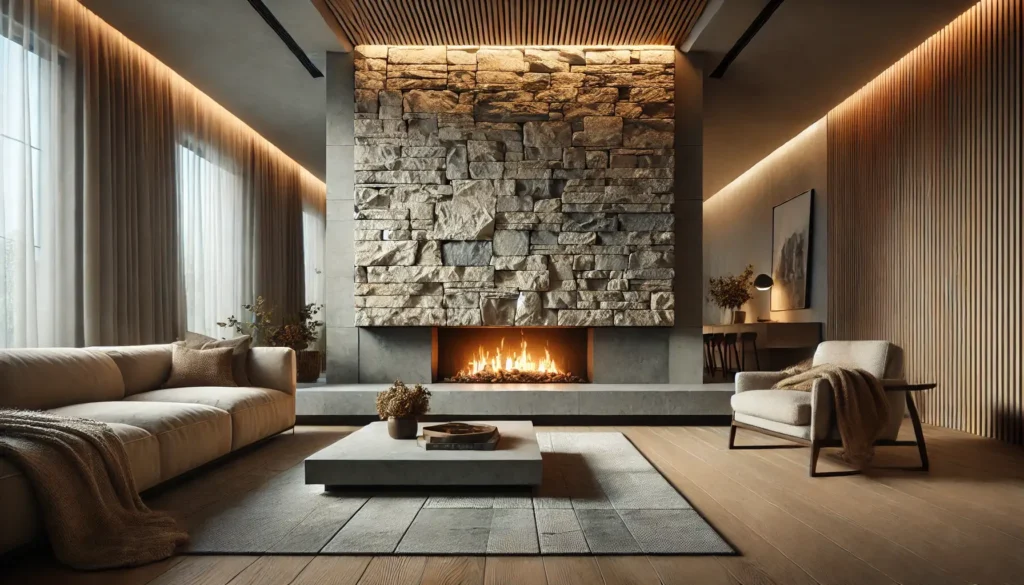
Creating a flush concrete hearth with ledge stone face is a rewarding project that combines functionality and style. Whether you’re revamping a fireplace or adding a durable, elegant feature to your home, this guide will take you through every step of the process.
A flush hearth offers a seamless design, and when paired with ledge stone, it creates a natural, rugged look that enhances any space.
This guide is perfect for DIY enthusiasts or anyone looking to learn about this installation. With careful planning and attention to detail, you can achieve a professional finish.
Ready to transform your space? Let’s dive into the tools, materials, and steps required to bring this project to life.
Flush Concrete Hearth with Ledge Stone Face Installation

Tools and Materials Needed
To successfully install a flush concrete hearth with a ledge stone face, gather the following tools:
- Measuring Tape and Level: To ensure precise dimensions and a balanced installation.
- Masonry Tools: Trowel, mixing bucket, and mortar board for handling concrete and mortar.
- Cutting Tools: A masonry saw or chisel for trimming ledge stones to size.
- Safety Gear: Gloves, goggles, and a dust mask for protection while cutting stone and mixing materials.
- Other Essentials: Hammer, screws, drill, and painter’s tape for setting up the work area.
Materials Checklist
- Concrete Mix: A durable, heat-resistant mix is ideal for the hearth base.
- Ledge Stones: Natural or manufactured stones that suit your aesthetic preferences.
- Mortar Mix: For bonding the ledge stones securely to the concrete.
- Sealer: A protective layer for the finished project, preventing stains and wear.
- Wood for Forms: Boards to create a mold for pouring the concrete.
- Fasteners and Adhesives: To secure components during the build.
Measuring the Space
Before diving into the installation, take precise measurements of the area. Measure the width, depth, and height of the hearth to determine the dimensions of your concrete base and ledge stone face. Use a level to check if the surface is even, as uneven spots can disrupt the installation.
Sketch out your design to visualize the final result. Will the hearth extend outward, or remain flush with the wall? These decisions will guide material quantities and overall workflow.
Surface Preparation
A clean, level surface is essential for durability. Remove any debris, dust, or old materials from the installation area. For uneven surfaces, apply a self-leveling compound or sand down high spots.
If moisture is a concern, install a vapor barrier to protect the concrete and stones from damage. Proper preparation ensures a strong foundation for your hearth.
Building the Form
The first step in constructing the hearth is building a form to hold the concrete. Use sturdy wood boards to create a frame that matches the desired dimensions. Secure the form with screws and ensure it’s level before proceeding.
Pro Tip: Add a release agent to the inner surfaces of the form to prevent the concrete from sticking. This makes removal easier after curing.
Pouring and Leveling the Concrete
Mix the concrete according to the manufacturer’s instructions, ensuring a smooth, lump-free consistency. Pour the mixture into the form, spreading it evenly with a trowel. Use a straightedge to level the surface, working from one end to the other. Gently tap the sides of the form to release air bubbles trapped within the mix.
Allow the concrete to set slightly before finishing the surface. A smooth finish can be achieved using a trowel or float. For a rustic look, lightly texture the surface.
Curing and Drying Time
Proper curing is critical for a durable hearth. Cover the concrete with plastic sheeting or a damp cloth to retain moisture. Curing typically takes 24–48 hours, but the concrete reaches full strength in 28 days.
Be patient rushing this step can compromise the hearth’s durability.
Installing the Ledge Stone Face
Selecting and Arranging Ledge Stones
Select ledge stones that complement your home’s decor. Before applying mortar, arrange the stones on a flat surface to plan the layout. Focus on achieving a natural, balanced look by mixing sizes, shapes, and colors.
Dry fitting is a crucial step it allows you to visualize the design and make adjustments before securing the stones. Mark the stones’ positions to streamline the installation.
Applying Mortar and Attaching Stones
After planning the layout, it’s time to attach the ledge stones. Begin by mixing the mortar to a workable consistency. Apply a layer of mortar to the back of each stone using a trowel, ensuring even coverage. Press the stone firmly onto the concrete surface, slightly wiggling it to create a strong bond.
Work from the bottom up, using spacers if needed to maintain consistent gaps between stones. Check alignment frequently with a level to ensure the stones are straight. Avoid applying too much mortar at once to prevent it from drying before you secure the stones.
If trimming is required, use a masonry saw or chisel to cut the stones to fit around edges or irregular areas. Safety gear is a must during this step, as cutting stone produces sharp fragments and dust.
Grouting and Finishing Touches
Once the stones are in place, fill the gaps between them with grout or additional mortar. Use a grout bag or a small trowel to apply the mixture neatly into the spaces. Smooth the grout lines with a pointing tool for a professional finish.
After grouting, clean the surface of the stones with a damp sponge to remove excess mortar or grout. Allow the mortar to cure for 24–48 hours. Once cured, the ledge stone face will be securely attached and ready for sealing.

Sealing and Protecting the Hearth
Sealing is a vital step to protect both the concrete hearth and the ledge stone face from stains, moisture, and wear. Choose a high-quality, penetrating sealer designed for masonry and stone surfaces.
Start by cleaning the hearth and stones thoroughly, removing any dust or residue. Once the surface is dry, apply the sealer with a brush or roller, ensuring even coverage. Follow the manufacturer’s instructions for drying time and additional coats.
A properly sealed hearth not only looks polished but also withstands heat, spills, and heavy use for years to come. Reapply the sealer as recommended, usually every 2–5 years, to maintain its effectiveness.

Safety Tips and Best Practices
Safety should be your top priority throughout this project. Here are some essential tips:
-
Gloves, goggles, and a dust mask are non-negotiable when handling mortar, cutting stone, or mixing concrete.
-
Keep tools and materials organized to avoid tripping or accidents.
-
Use proper lifting techniques or get assistance when handling heavy stones or concrete bags.
-
Especially important when using sealers or cutting stones.
Avoid common mistakes like using too much water in the mortar mix, which weakens its adhesive properties, or skipping the curing time for the concrete. A steady, methodical approach ensures success.
Maintaining your flush concrete hearth with a ledge stone face is simple but crucial for its longevity. Here’s how to keep it looking great:
-
Dust the stones and hearth periodically using a soft brush or cloth. For deeper cleaning, use a mild detergent and water.
-
Check for loose stones, cracks, or mortar deterioration, and address these issues promptly.
-
As the protective seal wears off over time, reapply it to keep the surface resilient against moisture and stains.
-
Strong cleaners can damage the stone and mortar. Stick to pH-neutral solutions for cleaning.

Cost Breakdown and Budget Tips
Creating a flush concrete hearth with a ledge stone face is an investment, but with smart planning, you can keep costs reasonable. Here’s a breakdown of typical expenses:
| Item | Estimated Cost |
|---|---|
| Concrete Mix | $20–$50 |
| Ledge Stones | $100–$300 |
| Mortar and Grout | $30–$50 |
| Sealer | $20–$40 |
| Wood for Formwork | $10–$30 |
| Tools (if not owned) | $50–$150 |
Budget Tips:
-
If you’re purchasing large quantities of stone or concrete, check for bulk discounts.
-
For one-time use, renting tools like masonry saws can save money.
-
If you have leftover wood or other supplies from previous projects, use them for formwork or reinforcement.
Final Thoughts
Transforming your space with a flush concrete hearth and a ledge stone face is a satisfying DIY project that adds value and charm to your home. By carefully planning, gathering the right materials, and following these step-by-step instructions, you can create a feature that’s both functional and stunning.
From pouring the concrete hearth to attaching and sealing the ledge stone face, this guide equips you with everything needed to achieve a professional finish. Take your time, follow the steps, and enjoy the process—you’ll be left with a hearth you can proudly show off for years.
FAQs
What is the best type of ledge stone for this project?
Natural stone is ideal for a rustic look, while manufactured stone offers uniformity and easier installation.
How long does it take to complete the installation?
Depending on curing times and your skill level, the project can take 3–7 days.
Can I use this method for outdoor hearths?
Yes, but ensure all materials, including mortar and sealer, are rated for outdoor use.
How often should I reseal the hearth?
Reapply sealer every 2–5 years, depending on usage and exposure to moisture.
Do I need professional help, or can this be a DIY project?
This guide is designed for DIYers. However, if you’re uncomfortable with concrete work or stone cutting, consulting a professional may be beneficial.
Affiliate Disclosure: Fireplaceadviser.com is a participant in the Amazon Services LLC Associates Program. We may earn a commission when you click on certain links on this site and purchase.

Hello!! I am Jamal Khan. I often fix my home electric heaters and gas stove problems and research the common issues in the heating units to improve my knowledge and expertise. The aim of establishing fireplaceadviser.com is to share my expertise and knowledge with my audience.


